What are Video Conference features?
In addition to screen sharing and sending messages in a video conference, Workstorm offers other features that make collaborating more efficient. This article offers tips to maximize your meeting experience.
During a video conference, look to the left sidebar to view your call options. Regardless of window size, the bottom 5 options will always be in the main sidebar.

Options unable to fit in the sidebar are relocated to the More menu, accessible by clicking on the ellipsis icon.
Virtual Backgrounds
Workstorm offers Virtual Background templates you can use during video conference meetings. You can also add your own custom background if you wish.
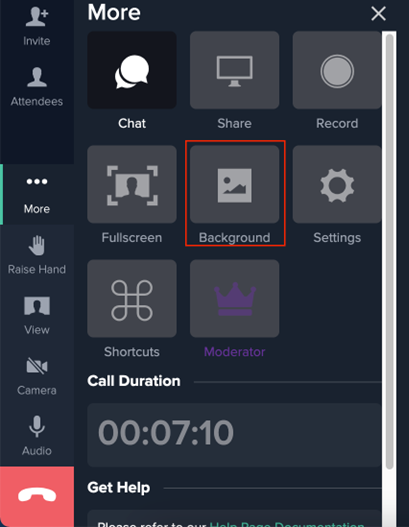
To access the Virtual Background feature:
- Click the Virtual Background icon to bring up the virtual background templates modal. The icon may be found on the main sidebar or within the More menu.
- Choose your preferred background from a selection of default templates, or add your own background, by clicking Add Background button on the bottom right-hand corner of the popper.
- Once you’ve selected your preferred background, click the Apply Background button in the bottom right-hand corner of your window.
- You should return to the Video Conference window, and your virtual background will be displayed.
Fullscreen Mode
Some monitor sizes result in inability to see everything in the default size video conference window. Workstorm allows you to maximize screen real estate through the Fullscreen feature.
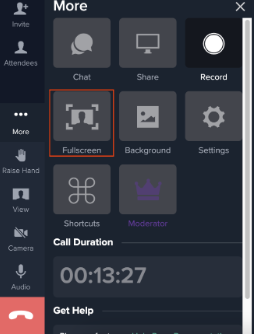
To access Fullscreen Mode:
- When in a Video Conference, look to the left-hand side of your video conference window. Under More you will see an icon for Fullscreen.
- Press your keyboard’s Esc button to exit Fullscreen mode and return to the default size video conference window.
Call Recording
Call recording is available to desktop app users that are on paid license plans. Paid plan subscribers with call recording enabled should take the steps below to record a video conference audio and video:
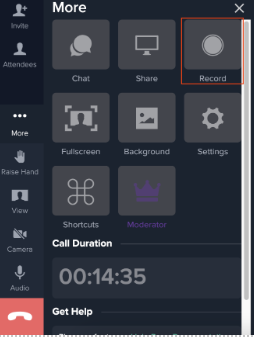
- Click the Start Recording button under More of your video conference window.
- A call recording options menu will pop up, asking you to choose which attendees’ video feed you prefer to record. Pick an attendee listed or use the default Auto-Select option.
- Choose your preferred audio settings for the recording near the bottom of the modal. If you don’t want any video feeds to be recorded and only want to retain audio from the call, toggle on Audio Only Recording.
- Click Start Recording after configuring your recording’s settings.
- Once recording has begun, the Recording button will flash red in the top left.
- After the recording has ended, information about your recorded file and where it’s stored on your computer will be displayed. For Windows, go to File Explorer -> Videos. For Mac, go to Finder -> Go (third button from right on top bar of computer) -> Home -> Movies.
Call recording is only available for paid plans. Please contact support@workstorm.com for more details.
Screen Sharing
For best performance, enable screen recording for your browser or desktop app in your operating system’s settings.
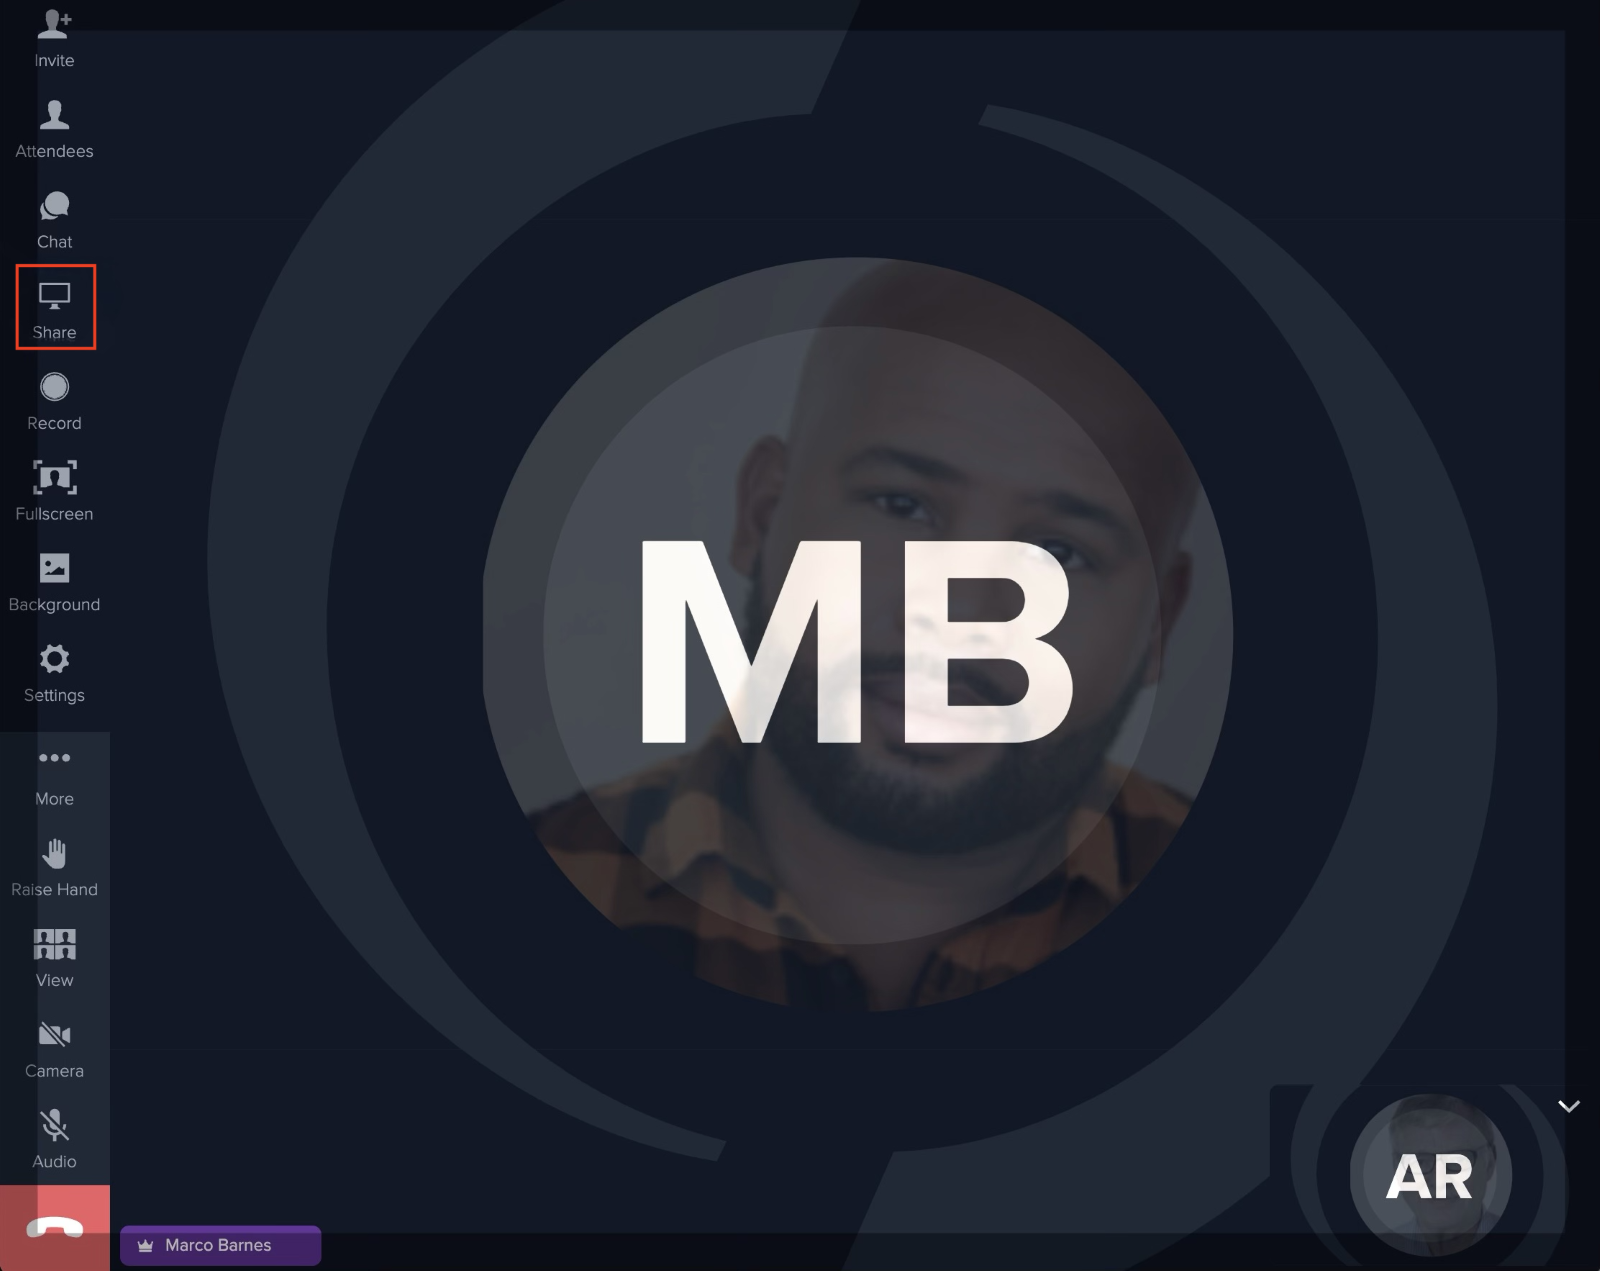
To start screen sharing, click the Share Screen button highlighted below.
Make sure to select your entire screen, browser tab, or an app window that you want to share, and then select Share. All attendees can now view your screen share.
Workstorm allows for multiple attendees to share their screen at once. There is no need to waste time by having the presenter stop sharing, requesting permission to share from the moderator, and then starting your screen-sharing.