NOTE: Each user can only be a member of one company on Workstorm.
When you sign-up for Workstorm, you start as a non-company member and can connect with your colleagues. However, in that state, you do not have access to Company Admin privileges, which are essential to building out a Workstorm instance for you and your colleagues at Company XYZ. If you are the designated Company Admin for your company, you can kick off the Workstorm Company creation process from your Settings menu.
First, click on Settings in your left side bar –> Create New Company at the bottom left of your Settings menu.
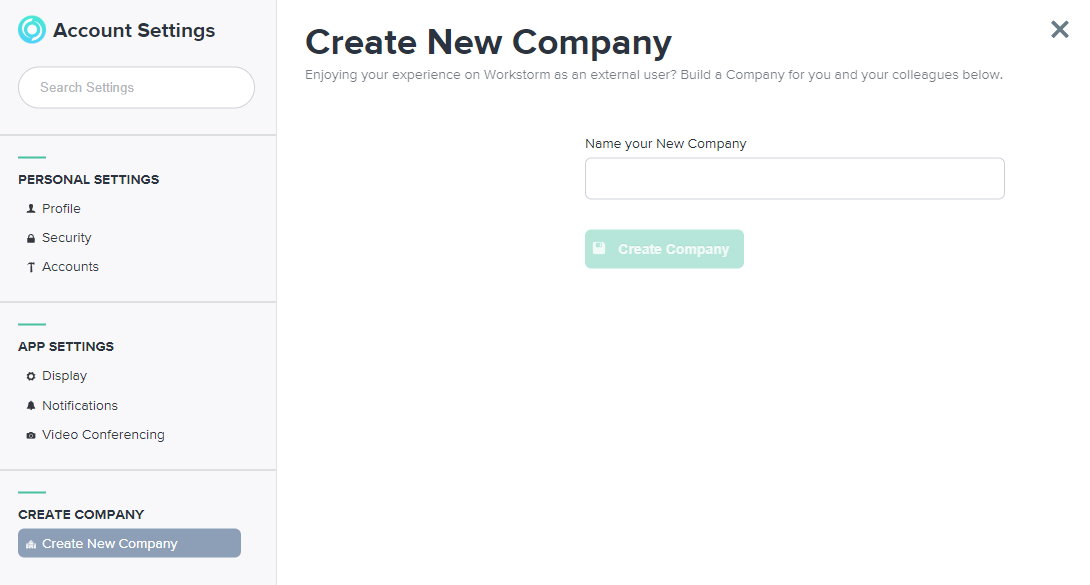
After you have entered your company name, click Create Company. You will be prompted to sign-out of Workstorm. After signing back into Workstorm you will be granted Company Admin privileges for your new company on Workstorm.
Organization Settings
Once you have created your company click Settings on your left-hand sidebar and view your new options under Organization Settings.
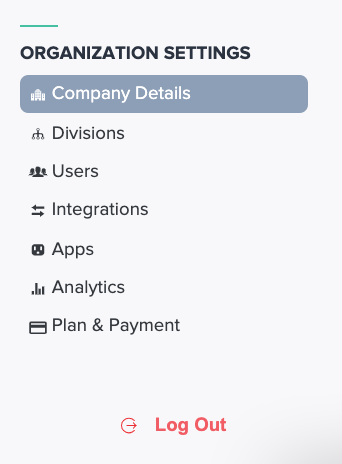
Company Details
Here you can review and edit your Company’s name and phone number. Click the Save icon on the right-hand side of your screen to save your changes.
Additionally, you can choose to enable/disable external collaboration, message data exporting, and connection links. You can also set a default view (Essential or Fully Featured view) that new internal company members see when they log in to Workstorm for the first time. Review and change your company’s password expiration policy and enable/disable two factor authentication for all internal members of your company.
Divisions
Here, you can add or update Divisions for your company. This feature is used for sending Announcements to select groups of users.
Users
Click Users to review, add, edit or block users from your company.
Here you can add a new user by email or import a bulk upload using our .csv template available for download. Add your desired internal invitees and upload the updated .csv file to send out email invites to those chosen connections.
On the right side of the Users window, you will see a scrollable panel that allows you to view company status for your company’s users (invited, external, full member, blocked). Select the gray dropdown arrow to expand a specific user’s card to see more details like their 2FA status or ability to block or re-instate that user.
Search for specific users from the search bar located in the top-center of the window. You can choose to filter your search results using the provided filter menu to the right of the search bar. Lastly, you can select each user individually or select multiple users with the provided checkboxes and block or invite all selected users from the action menu located next to the search bar.
Integrations
Here, you can add or update API Integrations for your company. An API Integration allows you to connect Workstorm to other applications.
Apps
Here you can enable or disable app integrations for your Workstorm company.
Analytics
Click Analytics to review your company usage of Workstorm. Keep track of the number of messages, video conference minutes, number of internal and external members, file storage, and enabled integrations for your company.
Using the provided data graph, you can view usage data over selected time/date ranges for messages, video conference minutes, and file upload size.
Plan and Payment
The last option under Organization Settings is Plan and Payment. Access your company’s license details, update your plan, contact your account representative, and pay your balance.