For a basic overview of Streams, click here.
Stream Channels, Custom Fields, and Templates
Please see the table below for a breakdown of Streams administrative permissions:
| Global Streams Admin | Stream Admin | Stream Channel Admin | |
| Action | Create Streams and add users. | Manage a specific Stream. | Manage a specific Channel within the Stream. |
| View all Streams in a company | X | ||
| Create Streams | X | ||
| Enter name, abbreviation and description for a Stream | X | ||
| Promote or demote members of a Stream | X | ||
| Add or remove members of a Stream | X | X | |
| Enable and disable a Stream | X | ||
| Create, edit, and delete Custom Fields in a Stream | X | ||
| Manage all Tasks in a Stream | X | ||
| Create Stream Channels | X | ||
| Promote or demote members of a Stream Channel | X | ||
| Add and remove members of a Stream Channel | X | ||
| Modify a Channel’s privacy settings | X |
Note: A user can be a Global Streams Admin, Stream Admin, and Stream Channel Admin at the same time. However, only a Stream Admin can be made a Channel Admin within that Stream.
Create a Stream
Only a Global Streams Admin, who is appointed by a Company Admin, can create new Streams. The Global Streams Admin who creates a Stream is by default the Stream Admin. To create a Stream:
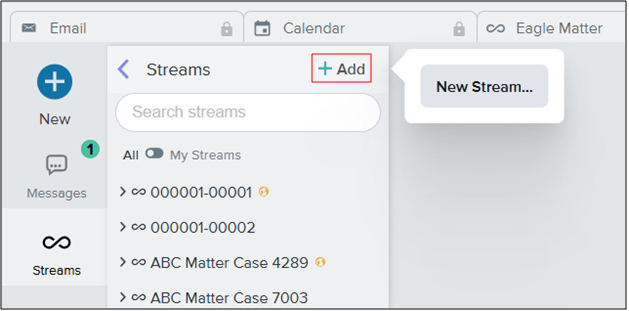
- Click on the Streams icon in the left sidebar.
- Click +Add > New Stream.
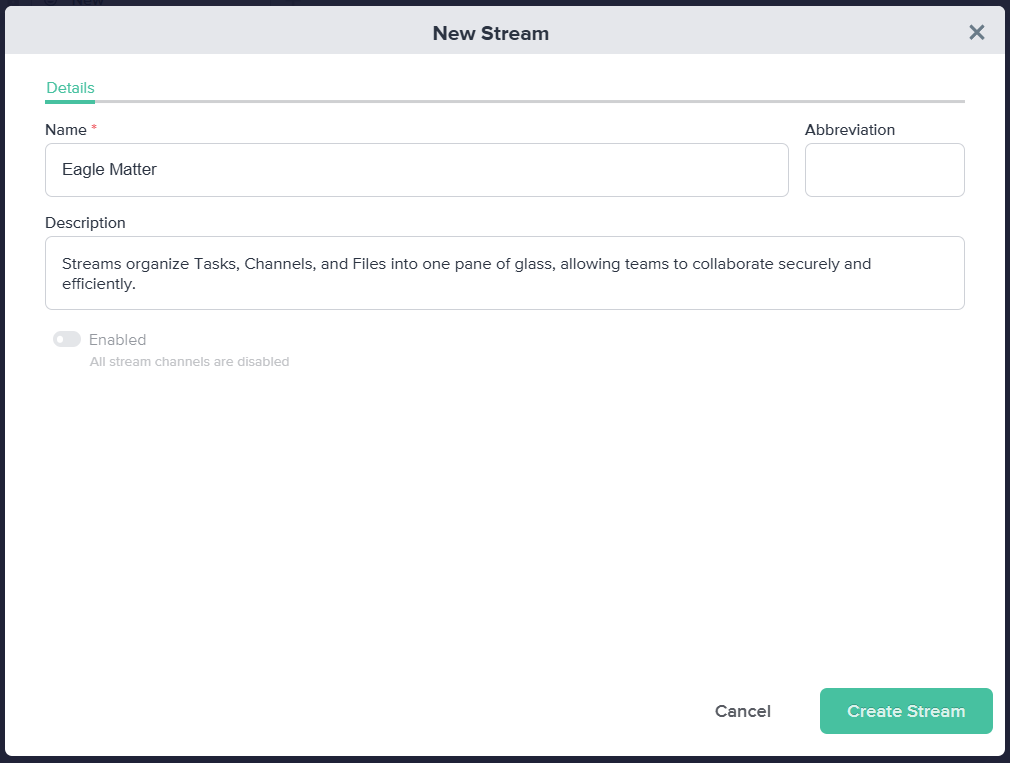
- In the New Stream pop-up window, give the Stream a name and a brief description. An abbreviation will be created automatically, but this can be customized as well.
- Click Create Stream.
Add Members
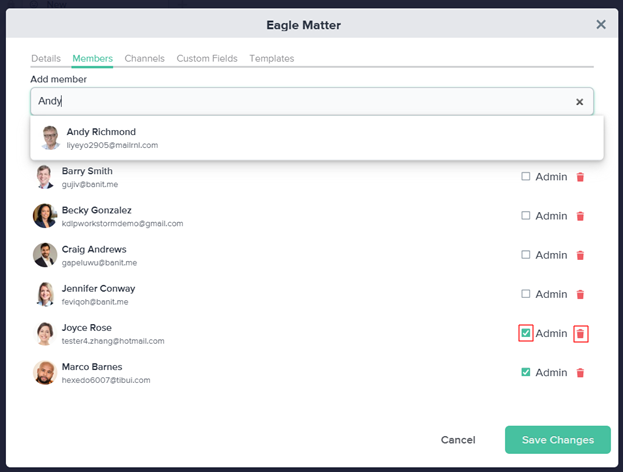
Once the Stream is created, a new set of tabs will open in the pop-up window. In the Members tab, add members to your Stream and manage their permissions:
- Search for the user’s name or email and select the matching result.
- To promote or demote a user, check or uncheck the box next to Admin. To remove a user from the Stream, select the Trash icon.
Note: Once the Global Streams Admin creating the Stream appoints another member as Stream Admin, they may or remove their privileges and /or themselves from the Stream.
- Click Save Changes.
Enable a Stream
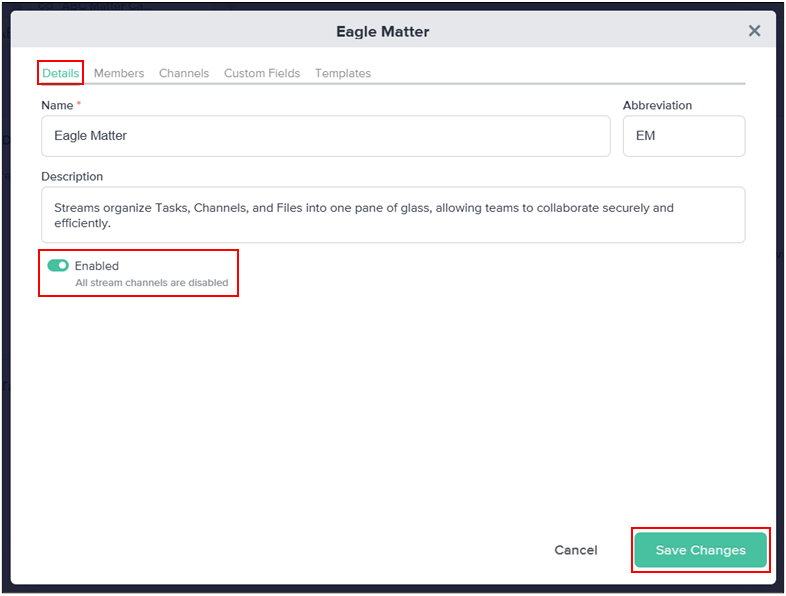
After their creation, Streams are disabled to ensure that Stream Admins can set up the proper member permissions and Channel structure. Before a Stream can be accessed by members, it must first be enabled by a Stream Admin:
- In the Details tab, click on the Enabled toggle.
- Click Save Changes and close the pop-up.
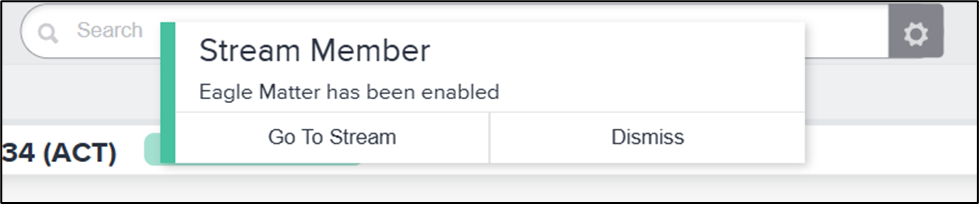
- To quickly access the new Stream, click the Go to Stream button that appears in the Stream Member toast.
Stream Channels, Custom Fields, and Templates
Stream Admins are able to create Channels within their Stream. The Stream Admin who creates a Channel is by default the Channel Admin. To learn how to create and manage Stream Channels, click here.
Stream Admins can also create Custom Fields, which members of the Stream can populate during Task creation. To learn how to create and manage Custom Fields, click here.
Additionally, Stream Admins can rename and delete Templates that are created by members of the Stream. To learn how to create and manage Templates, click here.