Managed Folders allow an organization to centrally deploy channels and folders for projects and tasks with customized compliance policies. Managed folders simplify your view of channels and creates a streamline Workspace experience.
Navigate Managed Folders
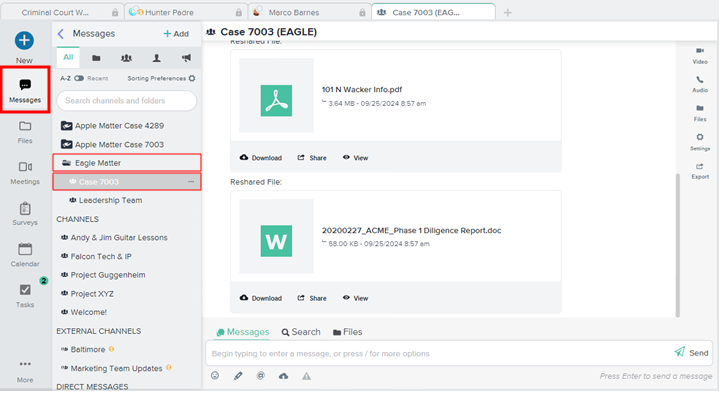
Members of Managed Folders are added to specific Channels that are created by Managed Folder Administrators. These Channels are placed automatically into their Managed Folders, denoted by a hand icon. To view your Channels:
- In the left sidebar, select Messages.
- Scroll to the relevant Managed Folder and click on it to view its Channels.
- Select the Channel you would like to access.
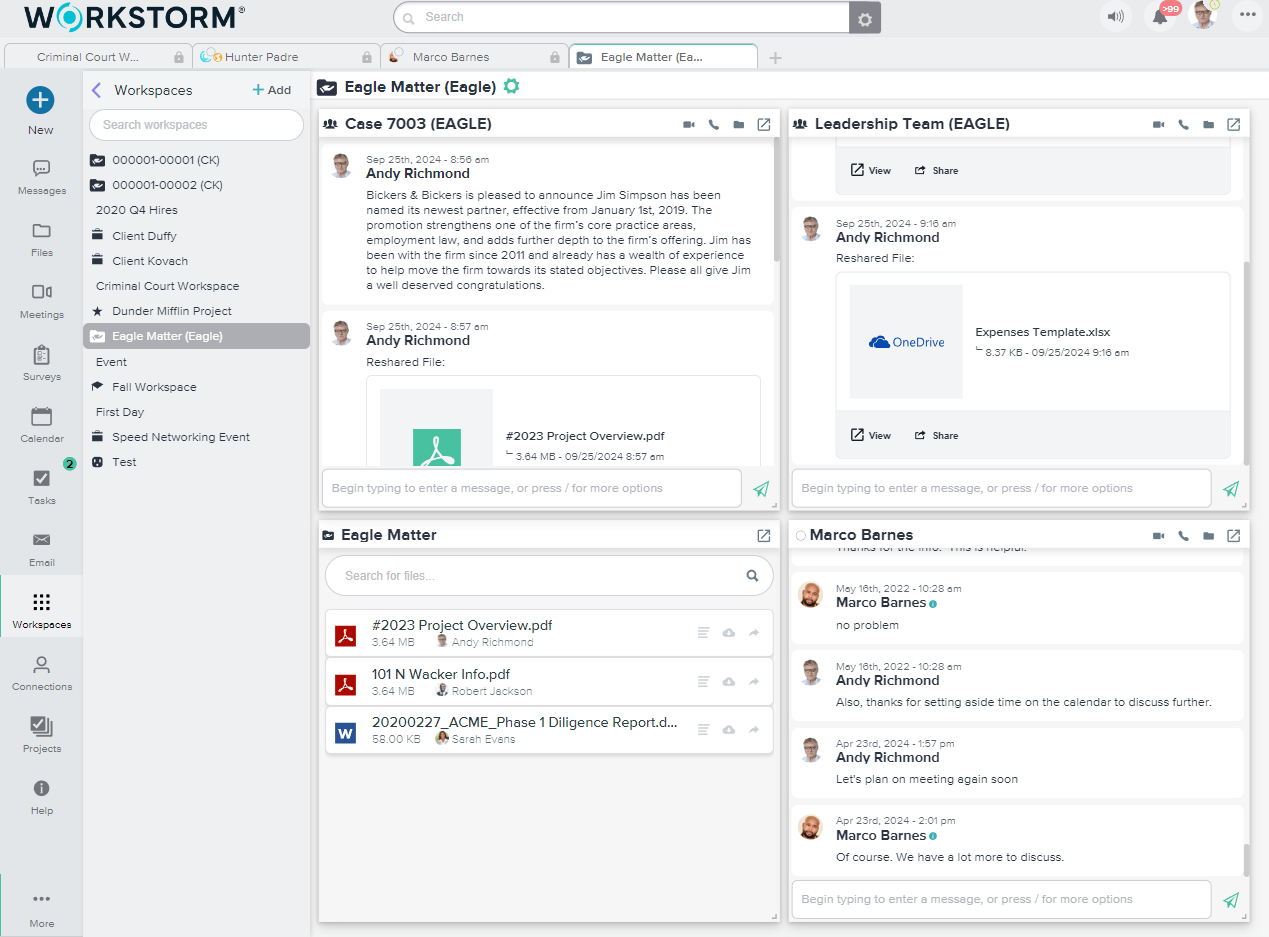
Once a member is added to a Channel in a Managed Folder, a personal Workspace with the same name as the folder is automatically generated. This Workspace is automatically populated with a Files pane, as well as any Channels the member is in. Members can also populate this Workspace with Channels and DMs relevant to their project or matter.
NOTE: For help with adding Channels and DMs, changing the tile layout, and further customizing your Workspace, click here.
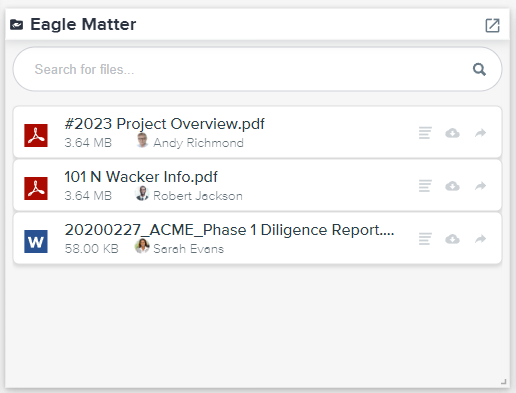
The Files pane, unique to Managed Folders Workspaces, lists all the files shared within managed Channels to which you have access. Using this pane, members can quickly view, download, and share relevant files as needed.
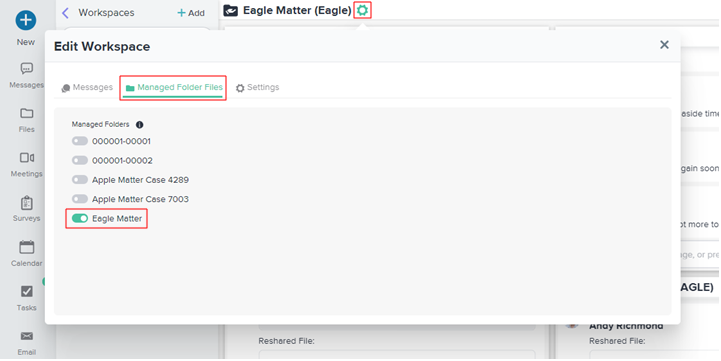
To swap out the Files pane:
- Click on the Edit Workspace gear.
- Navigate to the Managed Folder Files tab.
- Deselect the current Managed Folder or select a different one.
NOTE: External guests may be brought into Workstorm specifically for collaboration in a Channel within a Managed Folder. For more information on navigating Workstorm as a guest, click here.